|
This post may contain affiliate links, which means that we may receive a commission if you make a purchase using these links. As an Amazon Associate, we earn commission from qualifying purchases.
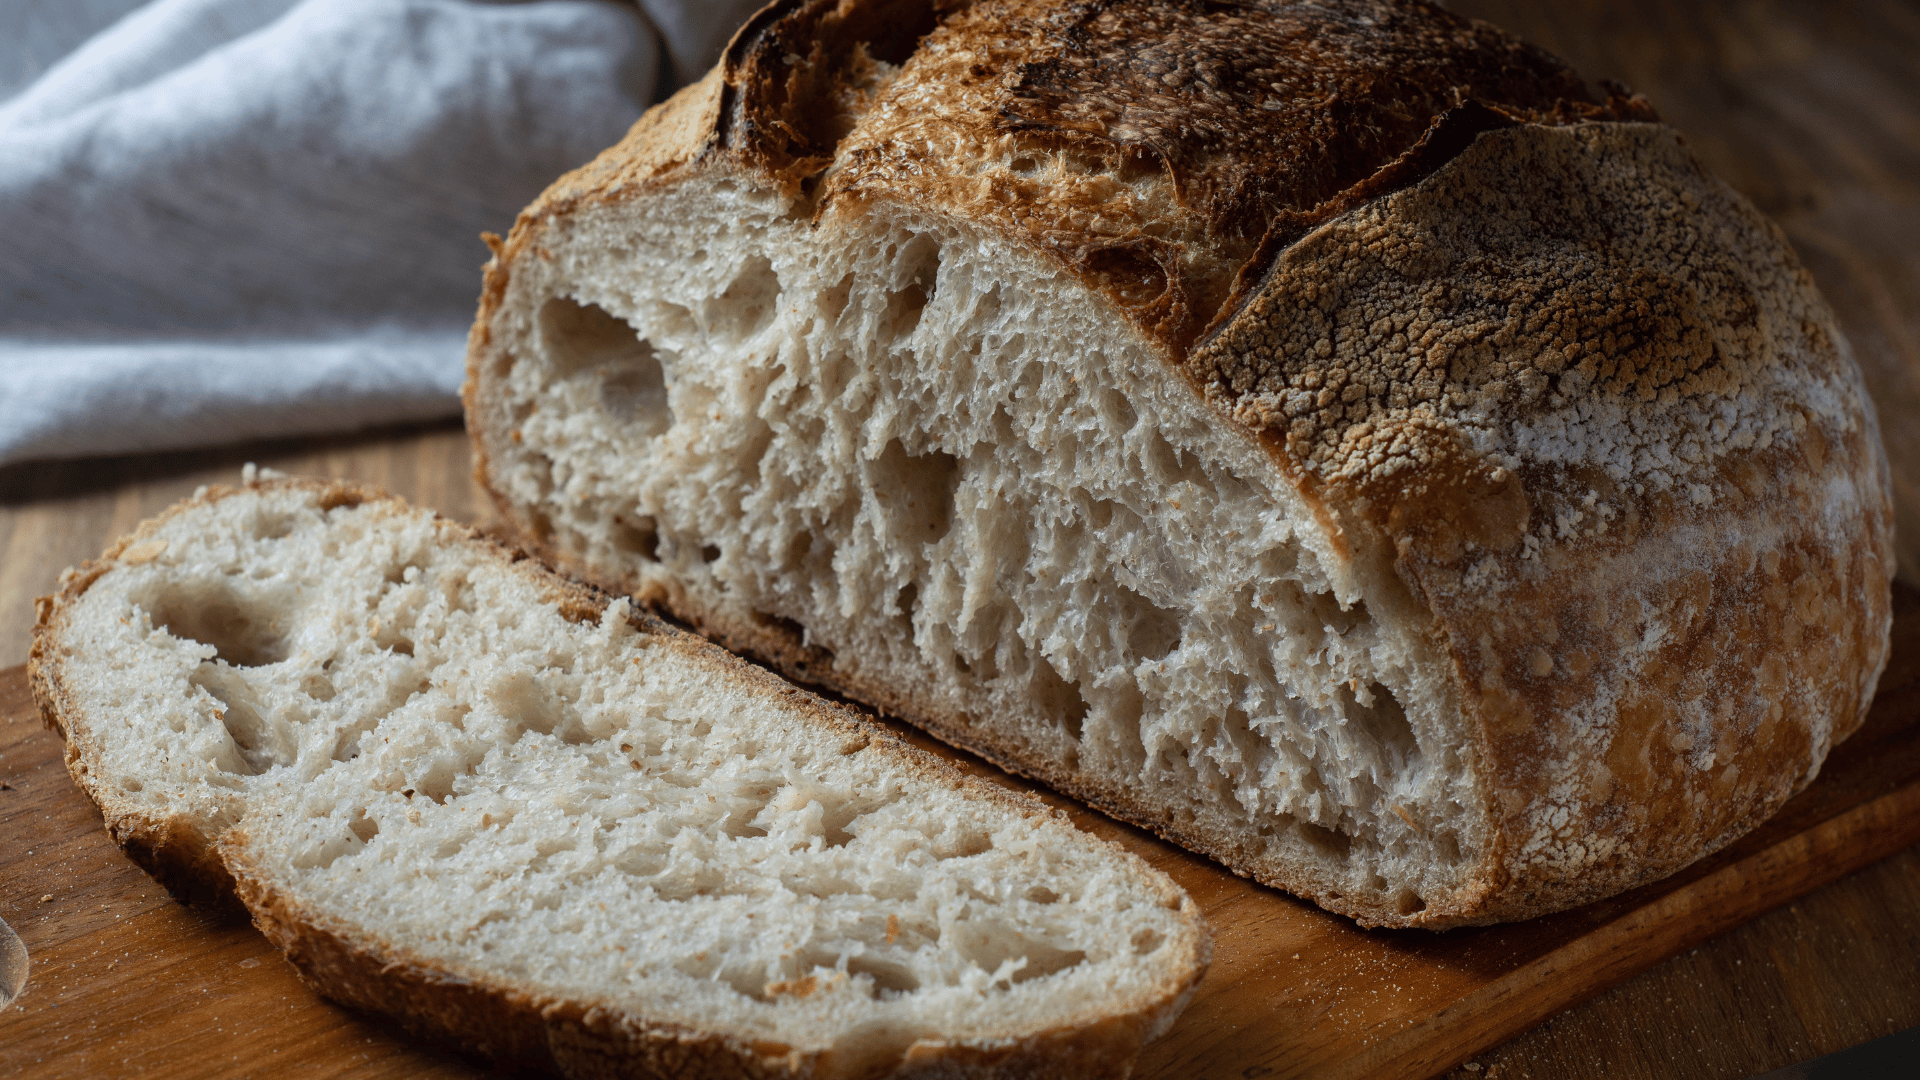
Baking sourdough bread is both an art and a science. It involves a delicate balance of ingredients, techniques, and patience to create a loaf that is not only delicious but also has a beautiful crumb and crust.
Whether you’re a novice baker or have some experience, mastering sourdough can be a rewarding and satisfying journey. The appeal of sourdough lies in its simplicity and the complex flavors that develop from the natural fermentation process. Unlike commercial breads, sourdough is made with a live culture—a starter—which adds depth and character to each loaf.
In this post, we’ll share 20 essential tips that will help you bake the best sourdough bread. From maintaining a healthy starter to perfecting your baking techniques, these tips will guide you through each step of the process.
You’ll learn how to manage fermentation, achieve the perfect dough consistency, and create a stunning crust. Let’s dive in and discover the secrets to baking an incredible loaf of sourdough bread.
1. Start with a Strong Starter: A healthy and active starter is crucial for good sourdough bread. Feed your starter with equal parts of flour and water and let it sit at room temperature for about 6-12 hours before using it. Make sure it’s bubbly and has doubled in size.
2. Use High-Quality Flour: The flour you use makes a big difference in the taste and texture of your bread. Opt for organic and unbleached flours. Many bakers prefer using a mix of bread flour and whole wheat flour for better structure and flavor.
3. Weigh Your Ingredients: Baking is a science, and using the correct proportions is key. Use a kitchen scale to weigh your flour, water, and starter. This ensures consistency and accuracy in your dough.
4. Keep an Eye on Temperature: The temperature of your kitchen and ingredients can affect fermentation. Ideal dough temperature is around 75-78°F (24-26°C). If your kitchen is too cold, fermentation will slow down; too hot, and it will speed up too much.
5. Autolyse Your Dough: Autolyse is the process of mixing flour and water and letting it rest before adding the starter and salt. This helps to develop gluten and makes the dough easier to handle. A 30-minute autolyse works well.
6. Knead Thoroughly: Proper kneading develops the gluten network, which gives your bread structure. Knead the dough by hand or use the stretch and fold method every 30 minutes for about 2 hours.
7. Use the Right Amount of Salt: Salt not only adds flavor but also strengthens the gluten network. Use about 2% of the flour weight in salt. Dissolve the salt in a bit of water before adding it to ensure even distribution.
8. Fold the Dough: Folding helps to develop gluten strength and redistribute the yeast. Perform a series of folds every 30 minutes during the bulk fermentation stage. Aim for 3-4 folds.
9. Bulk Fermentation: This is where the magic happens. Let your dough rise for 3-5 hours at room temperature. It should double in size and become airy. Watch the dough, not the clock, as fermentation times can vary.
10. Shape with Care: Gently shape your dough into a round or oval loaf. Be careful not to deflate it too much. Use a bench scraper and your hands to create surface tension on the dough.
11. Proofing: After shaping, let your dough rest and rise again. You can proof at room temperature for 1-2 hours or retard in the fridge overnight. Retarding gives a more complex flavor.
12. Use a Proofing Basket: A banneton or proofing basket helps your dough maintain its shape and creates beautiful patterns on the crust. Flour the basket well to prevent sticking.
13. Score the Dough: Scoring allows the dough to expand properly in the oven. Use a sharp blade or a lame to make a few deep slashes on the surface just before baking.
14. Preheat Your Oven and Dutch Oven: A hot oven and Dutch oven are essential for good oven spring. Preheat your oven to 475°F (245°C) and heat the Dutch oven for at least 30 minutes before baking.
15. Bake with Steam: Steam helps create a crisp crust. If you’re not using a Dutch oven, add a tray of hot water to the bottom of the oven or spray water into the oven just after placing the bread inside.
16. Monitor Baking Time: Bake the bread for 20 minutes with the lid on, then remove the lid and bake for another 20-25 minutes until the crust is deep golden brown. Internal temperature should reach about 210°F (99°C).
17. Cool Completely: Let your bread cool on a wire rack for at least an hour before slicing. This allows the crumb to set and prevents it from becoming gummy.
18. Store Properly: Store your sourdough in a paper bag or wrapped in a cloth to maintain the crust. Avoid plastic bags, which can make the crust soggy. You can also freeze bread by wrapping it tightly in plastic wrap and foil.
19. Experiment with Flavors: Once you’re comfortable with basic sourdough, try adding ingredients like seeds, nuts, dried fruit, or herbs. These additions can enhance the flavor and texture of your bread.
20. Practice Patience: Sourdough bread making is an art that requires patience and practice. Don’t be discouraged by imperfect loaves. Each bake teaches you something new and brings you closer to the perfect sourdough.
Baking the perfect sourdough bread takes time, practice, and a bit of experimentation. By following these 20 tips, you’ll gain the knowledge and skills needed to improve your sourdough game and achieve consistent, delicious results. Remember that sourdough baking is a journey filled with learning and discovery. Don’t be discouraged by initial setbacks; each loaf teaches you something new and helps you refine your technique.
With practice, you’ll find your rhythm and develop a personal touch that makes your sourdough truly your own. So, roll up your sleeves, dust off your flour, and embark on this delicious adventure. Enjoy the journey, cherish the results, and most importantly, savor every bite of your homemade sourdough bread. Happy baking!
0 Comments